Technical support from 08:00 - 17:00 mon-fri
Free delivery on all orders exceeding £100
Next day delivery with selected 'priority shipping'
Technical support from 08:00 - 17:00 mon-fri
Free delivery on all orders exceeding £100
Next day delivery with selected 'priority shipping'
During this blog post, we’ll aim to better help you understand the inner workings of TOA Microphone Transmitters, as well as their microphone frequencies. We’re also going to be looking into how to effectively resolve any issues you may face when handling them, including step-by-step solutions, as well as our own first-hand experience.
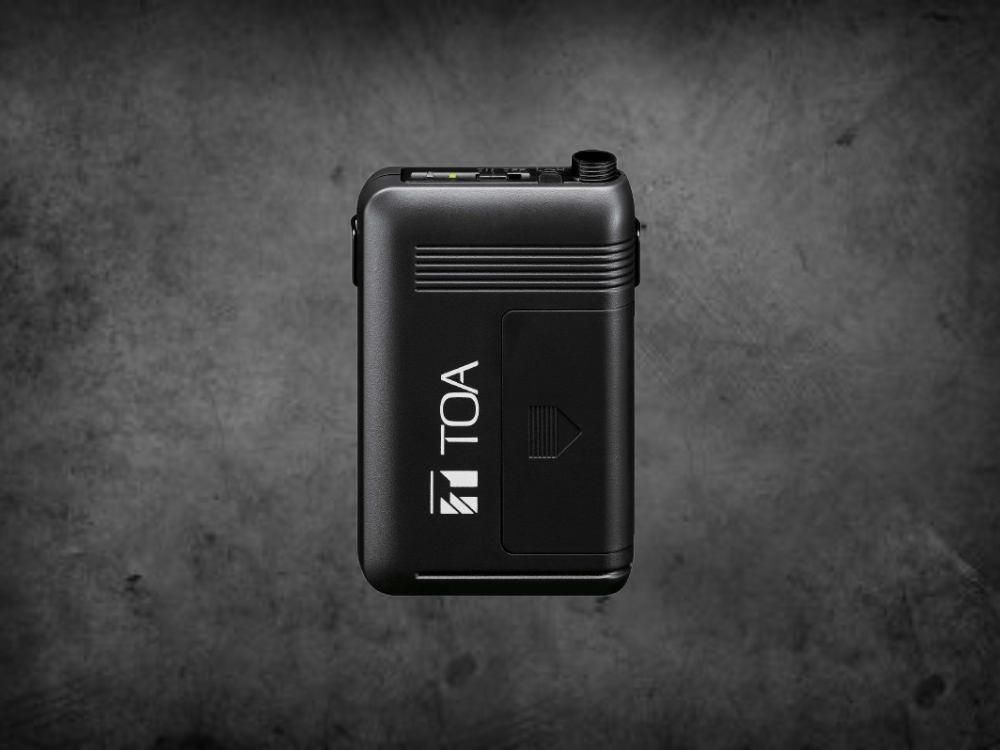
Every so often, we receive telephone calls regarding flashing or intermittent lights on TOA Radio Mic Transmitters. So, we thought it best to give you all a rundown on why this happens. With TOA radio mic transmitters you may notice a red and green LED — the green indicating the unit is powered on, and the red indicating your battery needs replacing. But, what happens once these begin flashing from green to red?
The fundamental reason your unit is alternating from green to red, is to let you know there’s an issue, which is the obvious conclusion. However, it’s far easier to resolve than you might think. On the off chance, it might need to come back to us for repair, but we’re writing this blog to provide the necessary information so you won’t have to. The first thing we tend to notice is that an incorrect channel has been selected…
On your microphone, you’ll find one or two small rotary controls under the battery cover, that allow you to select the output channel and bank. These will then be transmitted to the receiver unit via the unit itself. If this is incorrectly selected and there’s no frequency stored in the mic for the combination you’ve selected, the LEDs will inevitably flash to let you know.
Before we delve into likely causes or having to employ specific solutions, you may first find it useful to understand how to effectively manage your TOA Transmitter(s). Hopefully it will save you a lot of time and effort in the long run! Now, effectively managing a Radio Mic Transmitter is about making sure it’s always ready, reliable, and protected from premature wear. Based on TOA’s manuals and best practices for wireless microphones, we’ll hone in on a handful of those key areas below.
In regards to Pick-Up Patterns, Lavalier Microphones utilise an omnidirectional polar pattern. The reasons for this are:
1. Power & Battery Management
2. Audio Quality & Gain Control
3. Handling & Care
4. Maintenance & Troubleshooting
5. Frequency & Channel Settings
To start, we’ll highlight a few causes that may indicate why your unit is unable to function as intended, and how to quickly identify them.
An incorrect selection of the rotary dials we previously mentioned can be easily resolved. Firstly, make sure that the channel selection control has clicked into the proper position. The rotary control has a notched feel as you rotate, so try to ensure that the selector hasn’t been incorrectly set between channels. Secondly, if you peer down the hole you will also see that the slot has an arrow to show you which channel you’ve selected, so do make sure you’ve chosen the channel you want.
In addition to the channel selection there is also a bank selector too. Most of the microphones we sell are programmed with 16 channels so only Bank 1 will have any frequencies stored. If you’ve selected Bank 2, 3, or 4, then the chances are your LED’s will be flashing, therefore it’s crucial to select only Bank 1. The bank control is there to allow 64 channels to be programmed; this is used for other countries and other bands in the UK, but generally speaking, you’ll be using one of the first 16 in Bank 1. Some professional and licenced users may often use other banks, but we’ll focus on the former.
Lastly, there is a slight chance the microphone has been corrupted and the stored information for frequencies has otherwise been lost or is inaccessible. If you suspect this is the case, then you’d need to send it back to us for a Retune & Repair Service. To summarise, your TOA Radio Mic lights are flashing due to no frequency being stored for the selection you’ve made on the rotary controls. Or, your TOA Radio Mic has become corrupted (select Bank 1, Channel 0, and see if it works… it usually does).
We’ll compile a short list of causes below, and what each of them means. This should help you identify the problem far easier, and potentially diagnose if possible. The bottom line across almost all TOA Transmitter models is that a flashing Red LED is a critical battery warning. Acting quickly will help prevent unexpected signal loss. With that being said, we are avid believers in using high-quality batteries for wireless use too, so do make sure you’re using ones that will last.
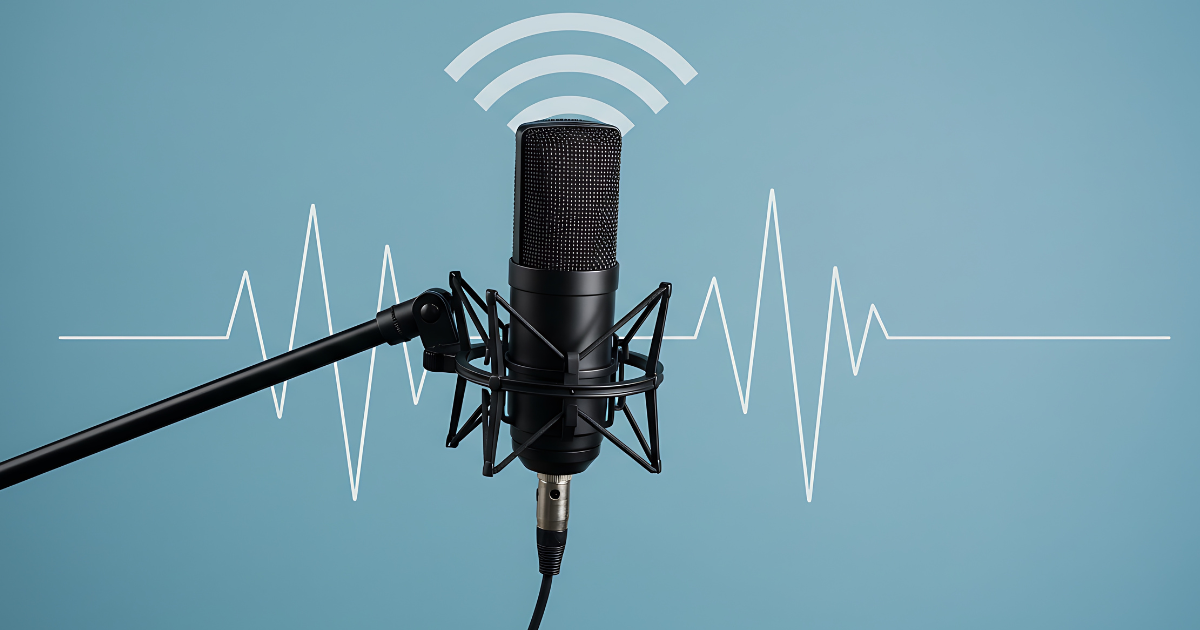
Understanding microphone frequencies is ideal if you’re actively engaging or participating in the audiovisual world — this is even more relevant for beginners hoping to learn more, or existing audiophiles looking to brush up on their knowledge. Before we progress, we’ll explain exactly what microphone frequencies are, and how they’re implemented.
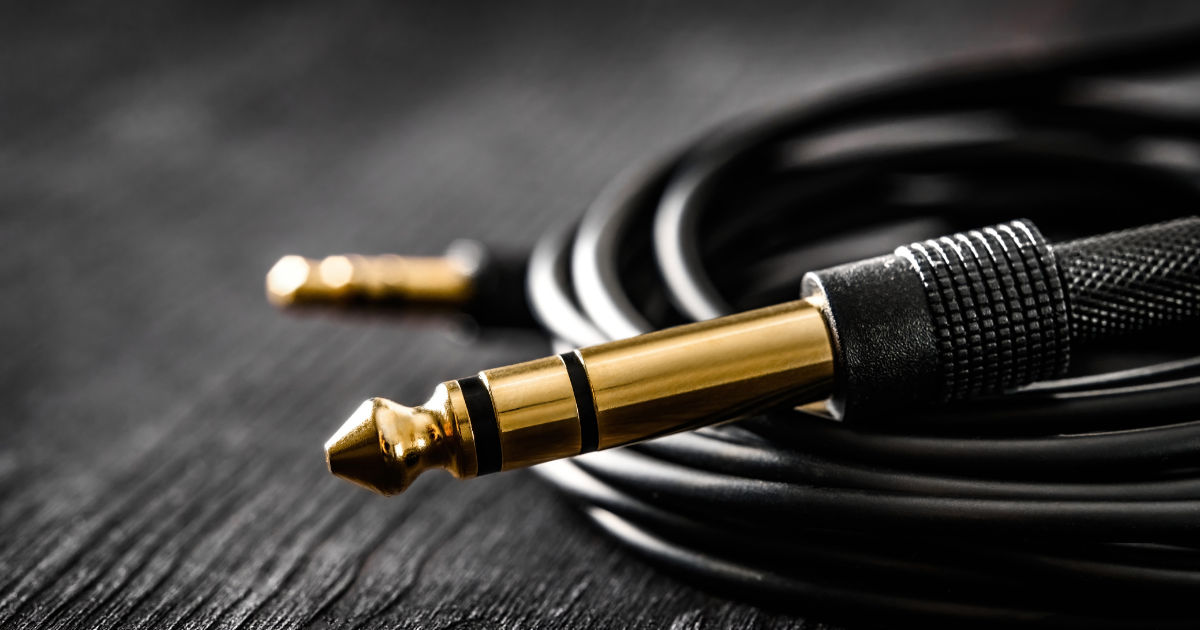
Microphone frequencies refer to the range of audio frequencies a microphone can capture and reproduce. This is typically expressed in Hertz (Hz). It’s also used for wireless mics to denote specific radio frequencies that transmit and receive audio signals; can be licensed or license-free. A frequency in this case, is a specific, individual radio wave that is used by a wireless microphone to transmit sound. Whereas a ‘channel’ refers to a preset location within a group of frequencies that is compatible with other channels in the same group. Even microphone channels coexist!
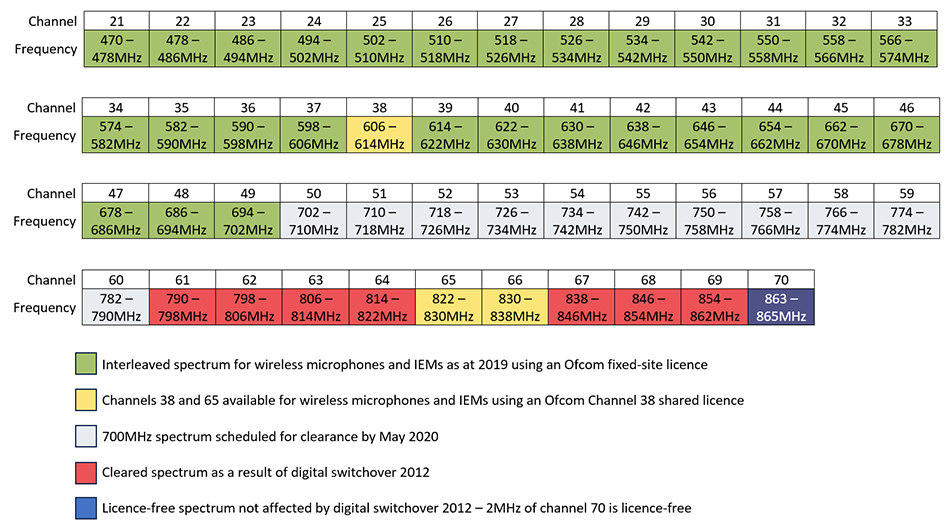
If you take a closer look at the microphone frequency chart displayed below, you’ll notice the channels range from 21-70, with colour-coded sections that provide additional information. The most pertinent microphone channels we’re going to cover are 38 and 70.
This channel refers to a band of UHF frequencies that are commonly licensed for wireless microphone use in the UK and parts of Europe. For TOA related products, this is also known as GO1. In practice, wireless microphone systems tuned for Channel 38 will operate anywhere within the 606-614MHz range.
The details comprise of:
This channel refers to another UHF band commonly used for wireless microphones in the UK and Europe — but unlike Channel 38, it is licence-free. For TOA related products, this is also known as DO4. In practice, wireless microphone systems tuned for Channel 70 will operate anywhere within the 863-865MHz range.
The details comprise of:
As a side note, we do offer in-house retune and repair capabilities for any available TOA microphone transmitters you may have; ranging from a single unit all the way up to eight.
Before we conclude this blog post, we thought it would be a good idea to include some tips & tricks. Particularly for those who are delving into the world of wireless microphone systems, and more importantly, microphone transmitters.
It’s essential to remember that using (and utilising) microphone transmitters to the best of their ability requires a combination of technical expertise, careful handling, and of course preventative measures to avoid potential dropouts, interference, or even poor sound quality. These are key factors to consider to ensure reliable microphone transmitter operation.
Things to consider — a selection of tips and tricks:
Now that we’ve offered solutions, tips and tricks, and potential areas to look out for when fixing flashing lights on your TOA transmitters, we’re hoping you can effectively use this information to get the most out of your units. If you’re ever in a spot of bother, employing some of the best practices we’ve discussed for effectively utilising your AV equipment will certainly help along the way; we know it does for us.